


High-level knowledge,
taught correctly.
Many players struggle because they’re learning the game the wrong way. Our level-specific lessons give you high-level knowledge, delivered by coaches who actually know how to teach. We break the game into simple concepts you can finally understand and apply.
The right knowledge is the foundation.

The Reps to build
the skill.
Simply knowing what to do doesn’t change muscle memory. That’s why lessons are paired with a clear level-specific practice plan we’ve created for you. Follow the plan: do the drills, hit the ball-count checkpoints, and you will see guaranteed progress.
Turn the right knowledge into change
Direct feedback to know you’re
doing it right.
This is what most players don’t have. Through level-specific chat, video analysis, and weekly live coaching sessions, you get direct coaching on your game from our high-level coaches—so you can confirm what’s working, fix what’s not, and keep moving forward.
Know you’re on the right track.
Everything lives inside The Lab. Your lessons and practice plans are built into your level-specific online course, and your coaching happens alongside it through live coaching sessions, chat channel access, video analysis, and more.
Join Now!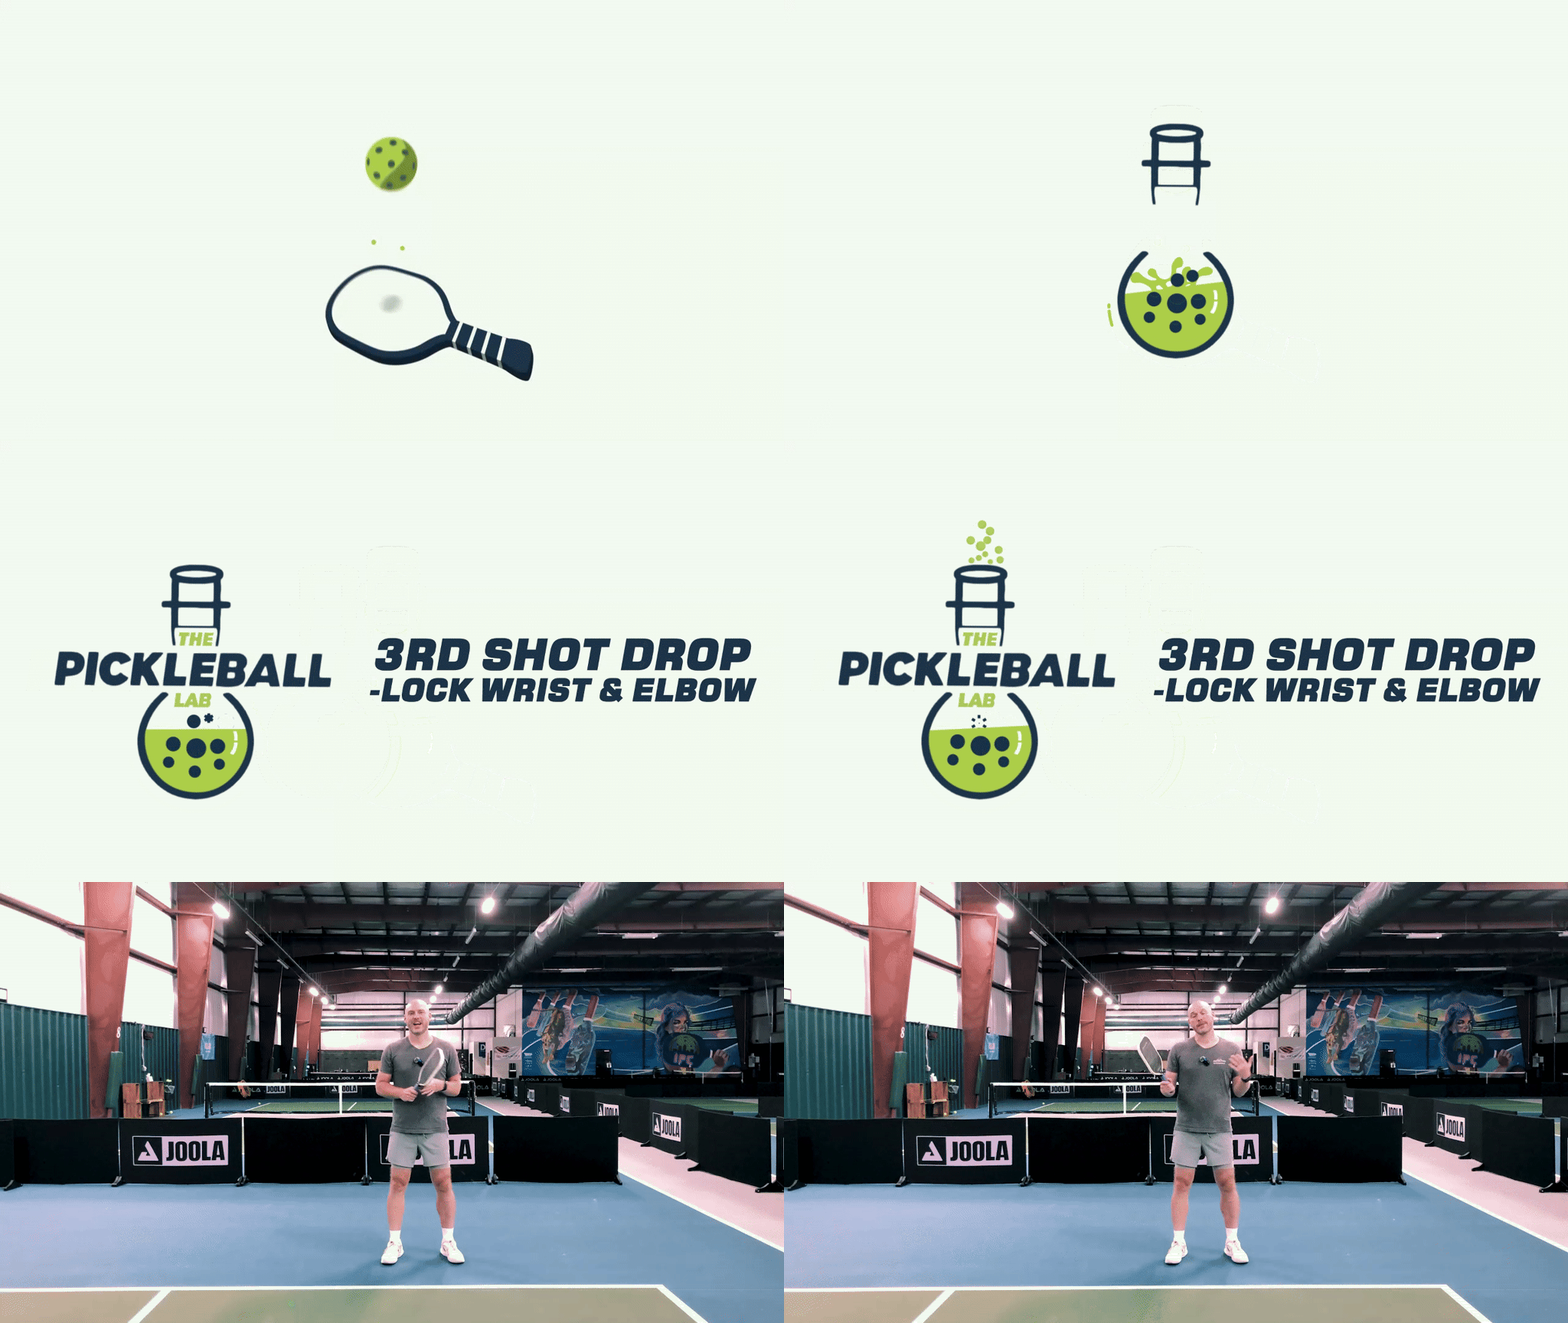
High-level knowledge delivered by coaches who actually know how to teach. We break the game into simple concepts you can finally understand and apply.
Build the right mental model before you hit a ball.
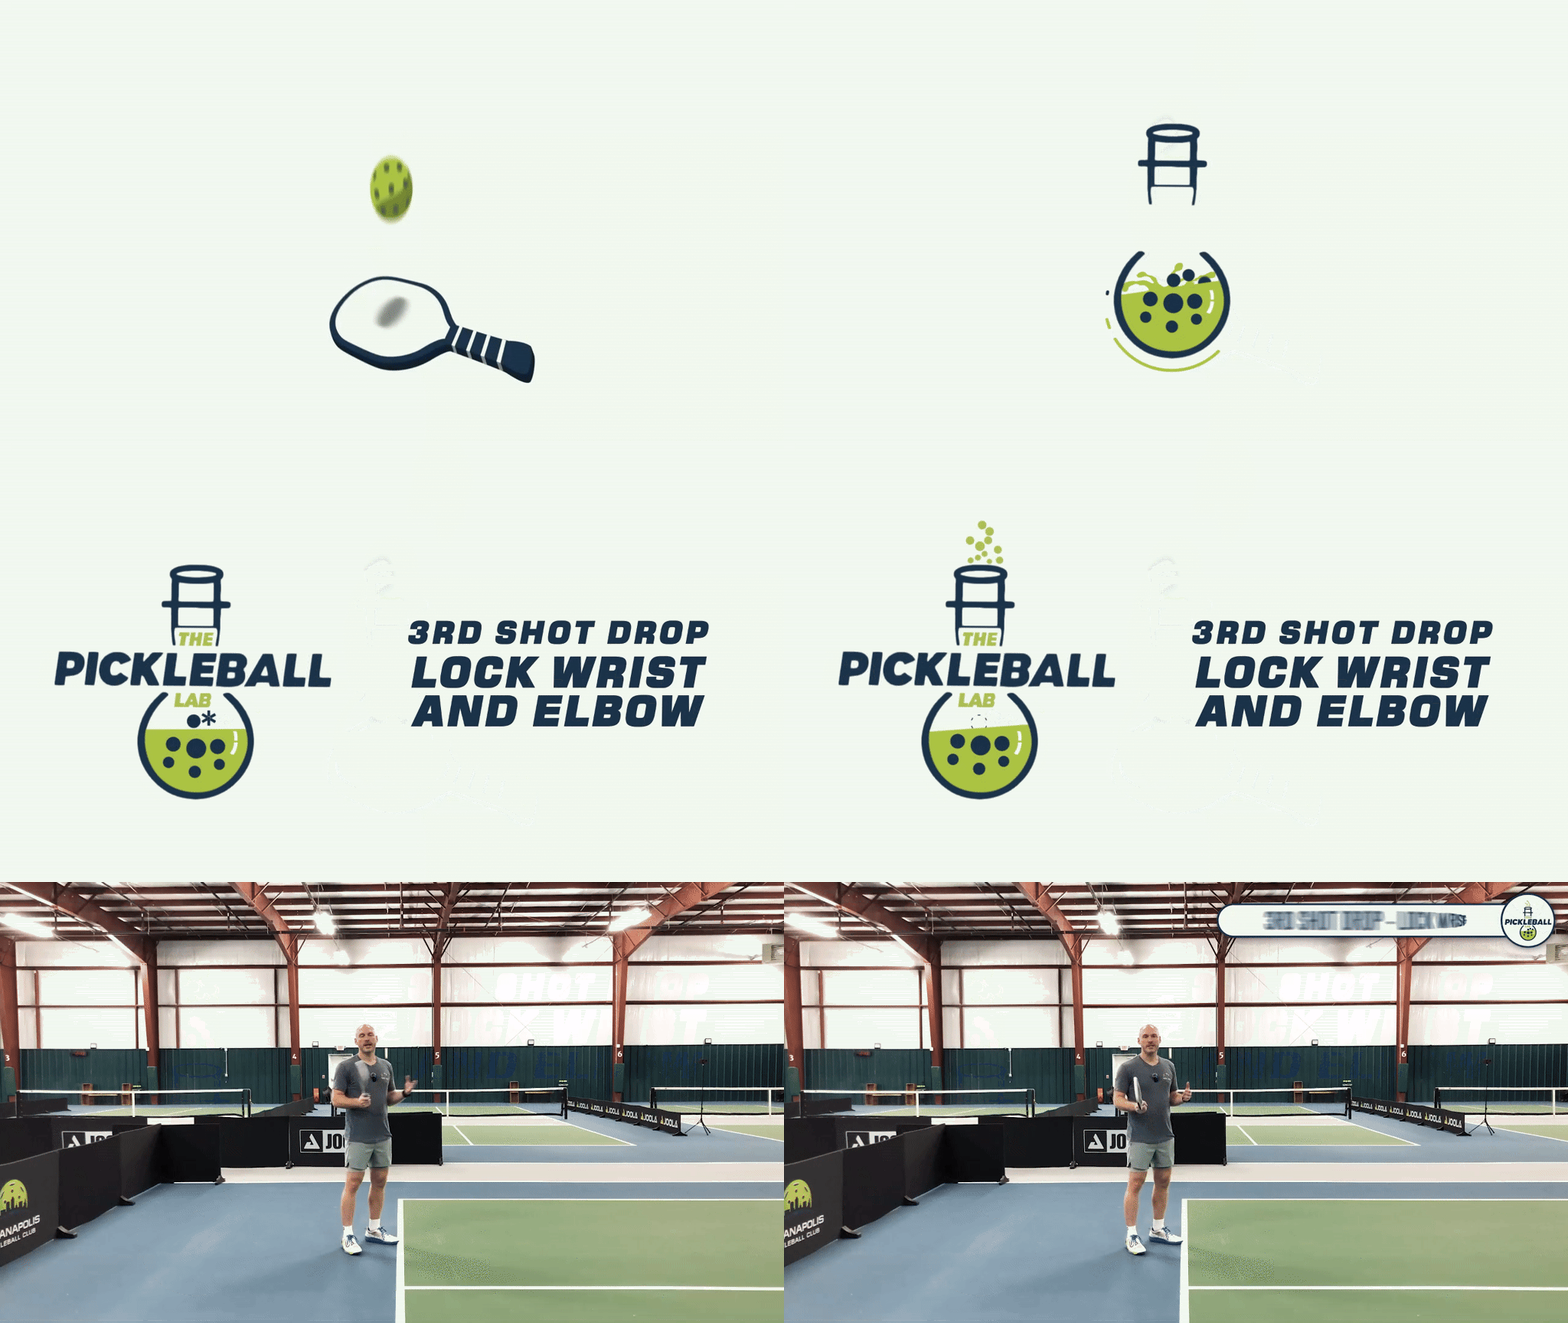
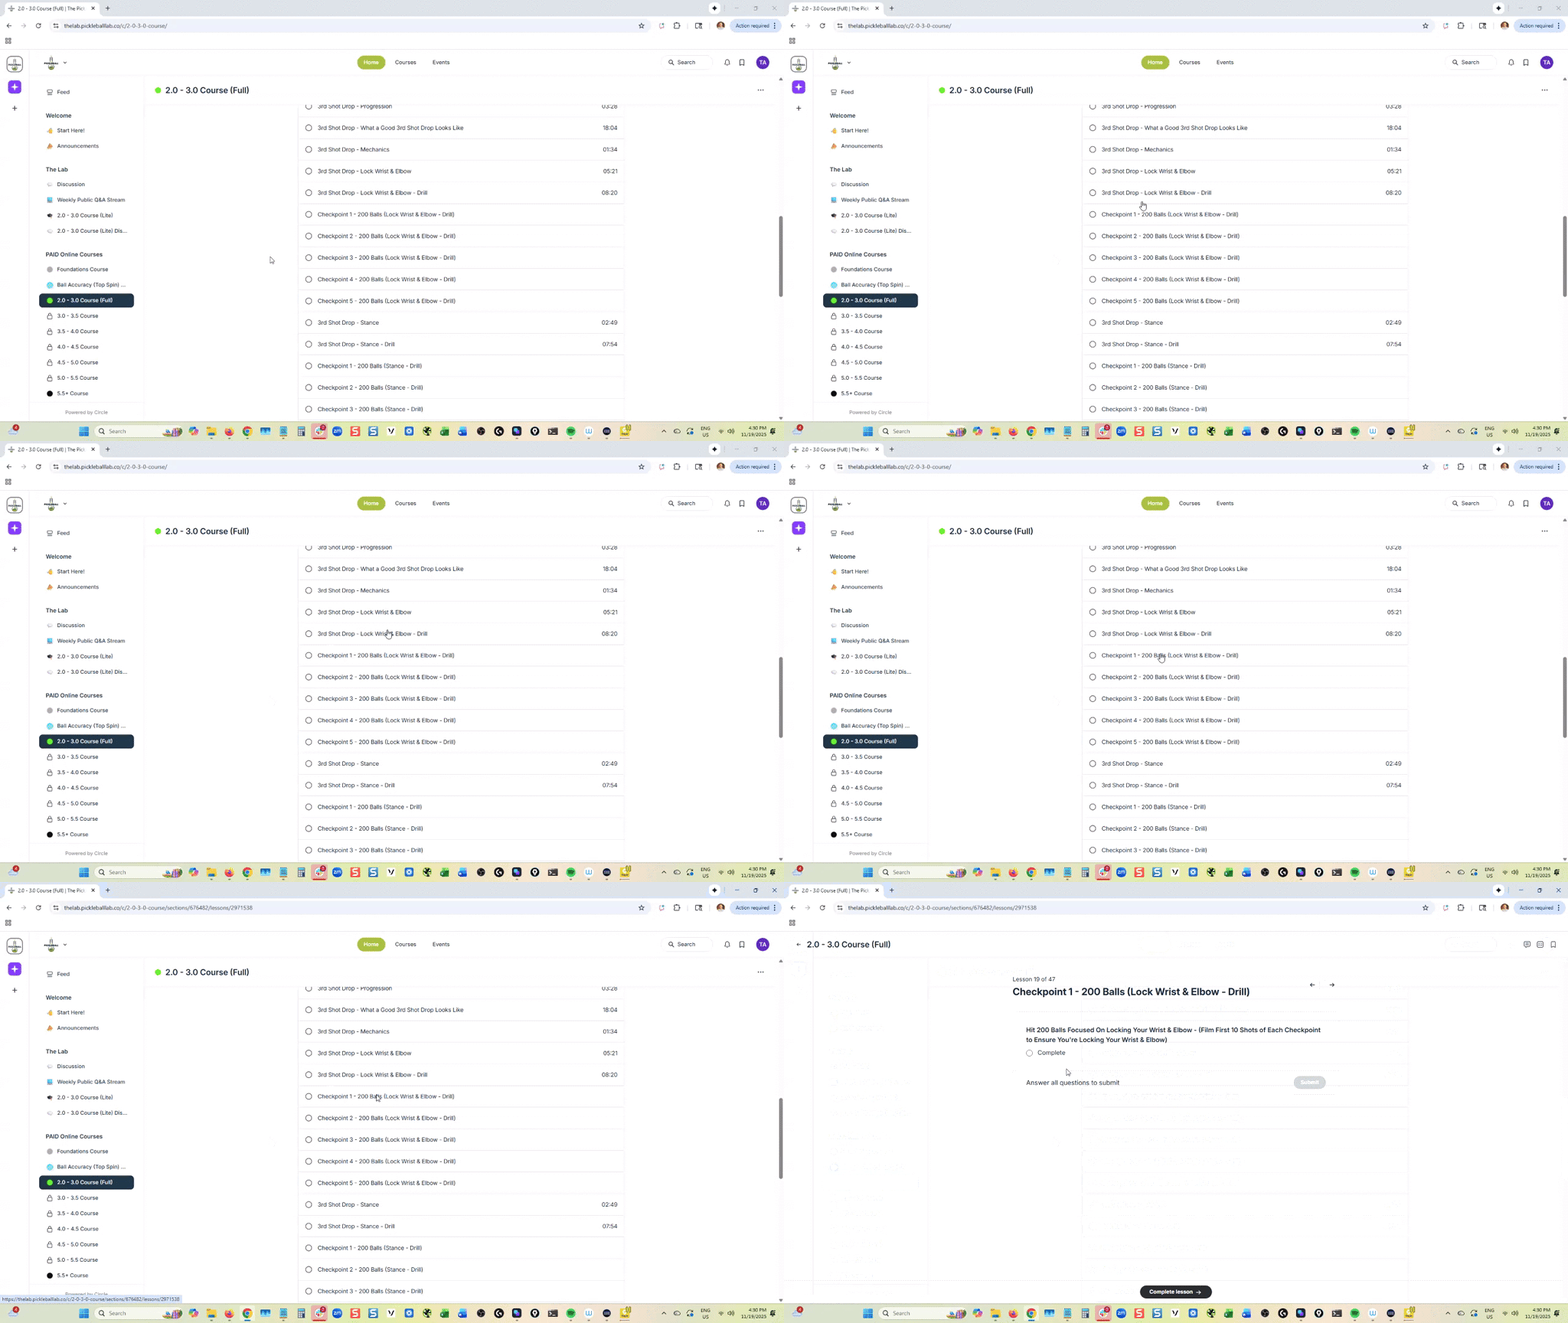
Knowledge alone doesn’t change muscle memory. Every skill-based lesson includes a clear practice plan featuring a Drill and Checkpoint combination. Follow the plan, hit your checkpoints, and lock the skill into your game forever.
Follow the plan and see guaranteed progress.
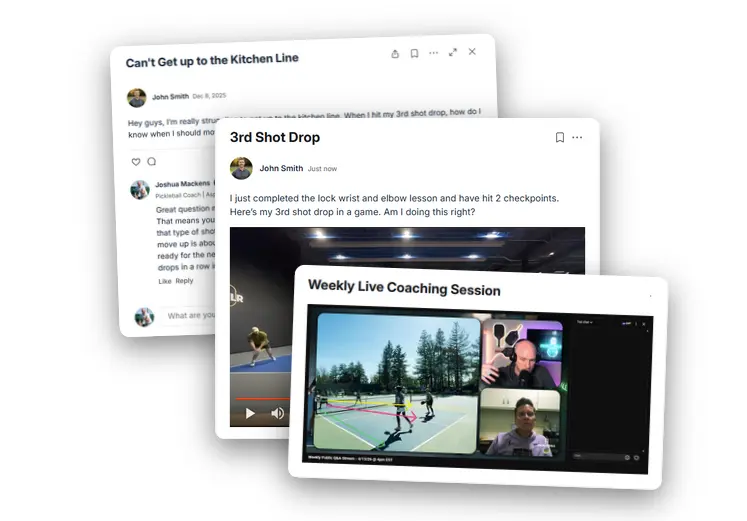
This is what most players don’t have. Through Level-Specific Chat, Video Clip Analysis, Weekly Live Coaching Sessions, and Monthly Pod Coaching, you get direct coaching to confirm your technique and correct your errors.
Keep moving forward with total certainty.
You take a lesson, apply it through structured practice, with coaching available to confirm or redirect you as necessary. Once complete, you move to the next skill in the course and repeat lesson > practice > coaching until you master that skill.
Rinse and repeat until you’re through all the skills in the course and now you’re ready to make the jump to that next DUPR level!
This is how you actually make progress in pickleball.
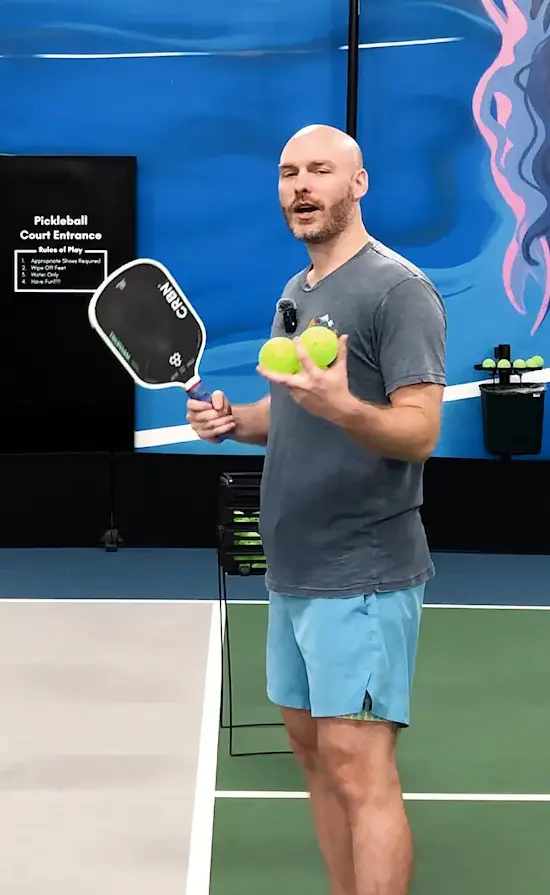
Read reviews from real pickleball players about The Lab and Coach Josh

 Cindy Miller
Trustindex verifies that the original source of the review is Google.
Josh is an excellent pickleball Instructor. I have learned so much from him the past several months. I love the individual analysis he provides to us via drills drill homework available on his app, written analysis etc. My top spin shots, 3rd shot drops, and decision making has improved very much with his guidance. Looking forward to improving my game with Josh’s instruction. Susan WashamJosh is an excellent pickleball instructor. Through his in person lessons, and in his videos, Josh explains the mechanics of a shot so that it is easily understood. He adapts to his student’s abilities and is patient and encouraging throughout the lesson. His online lesson review greatly helps the student remember exactly how to implement what was taught in the lesson.
 Linda KerrTraining with coach Josh Mackens has truly leveled up my game. His deep knowledge of the sport shows in every session—from breaking down technique to explaining strategy in a way that finally “clicks.” He coaches with incredible patience, always giving thoughtful corrections without ever making me feel rushed or overwhelmed. I also really appreciate the clear coaching structure Josh brings to each lesson. Every drill has a purpose, and I can see how each session builds on the last. Because of that, my footwork, consistency, and confidence on the court have improved more than I expected. I’m genuinely grateful for the guidance and highly recommend Josh to anyone wanting to grow their skills and play smarter, stronger pickleball.
 Louise TetrickJosh is passionate about player development and improvement! He gives pickleball “homework”, and once a skill set is established, he then adds additional suggestions and drills for continued improvement. He points out one’s successes and offers valid encouragement. I find him to be a very caring and involved coach.
 Nancy PhippsWorking with Josh over the past year my pickleball game has improved significantly. He’s been instrumental in helping me develop more effective techniques and develop a clear strategy for my game. Working with him on specific skill development has given me more confidence and technical ability to become more competitive. Josh’s ability to communicate and educate has made the learning process fun and enjoyable and most importantly, effective.
 Cherie Coletta ArthurCoach Josh is a fantastic instructor, and I feel grateful to have connected with him for pickleball! He is so knowledgeable about all skills and the game. I have learned the basics, helpful strategies and ways to improve my personal play. Josh is incredibly encouraging and so positive while providing specific feedback! He genuinely wants to help his players learn, grow and succeed. Josh is an amazing person and coach. I would recommend him to all for pickleball!
 Keaghan WillJosh’s attention to detail and thoughtful game plans for advancement in the game are very impressive. Straight shooter. Do the work, or don’t expect to get better. He takes teaching to another level and his HONEST feedback is refreshing.
 CoCreate FIlmsReally enjoyed getting to know the rules and more importantly implementing them in a two on two match with guys of equal ability. Josh is a born encourager and a gifted teacher too!
 S WrightJosh is an excellent instructor. He has great teaching style. He provided a beginners class for our group that I know will be a valuable foundation. We also watched more advanced players and Josh offered lots of insights on the game and techniques.
 Ron StohlerHad an awesome beginner lesson with Josh with two of my friends. He clearly explained the rules, then we applied them, and had a great time. He also demonstrated some key strategies through a few games we played. Had a total blast. Will definitely check out his online training!
Choose how you want to use the system.
Whether you want to master the game at your own pace with our online course library or unlock full direct coaching for the fastest possible results—there is a place for you in The Lab.
Founding Member Bonus: I’m personally onboarding our next 10 members to make sure you have everything you need to succeed in The Lab. Join any paid plan today and get a private 30-minute 1-on-1 strategy call with me.
Free Access
Access our general chat, a lite version of our 2.0–3.0 course, and our Weekly Public Q&A Stream to get live coaching all for free.
Lessons + Practice
Follow a complete, level-based system with high-level lessons and structured practice plans to build your game.
Lessons + Practice + Coaching
The full system. Get the lessons and practice plus direct coaching feedback to make sure you’re improving the right way.
Everything + 1-on-1 Coaching
Work directly with a coach each month to accelerate your progress with personalized 1-on-1 feedback on your game.
Free
Access our general chat, a lite version of our 2.0–3.0 course, and our public weekly Q&A stream to connect with other players.
Lessons + Practice
Follow a complete, level-based system with high-level lessons and structured practice plans to build your game.
Lessons + Practice + Coaching
The full system. Get the lessons and practice plus direct coaching feedback to make sure you’re improving the right way.
Everything + 1-on-1 Coaching
Work directly with a coach each month to accelerate your progress with personalized 1-on-1 feedback on your game.
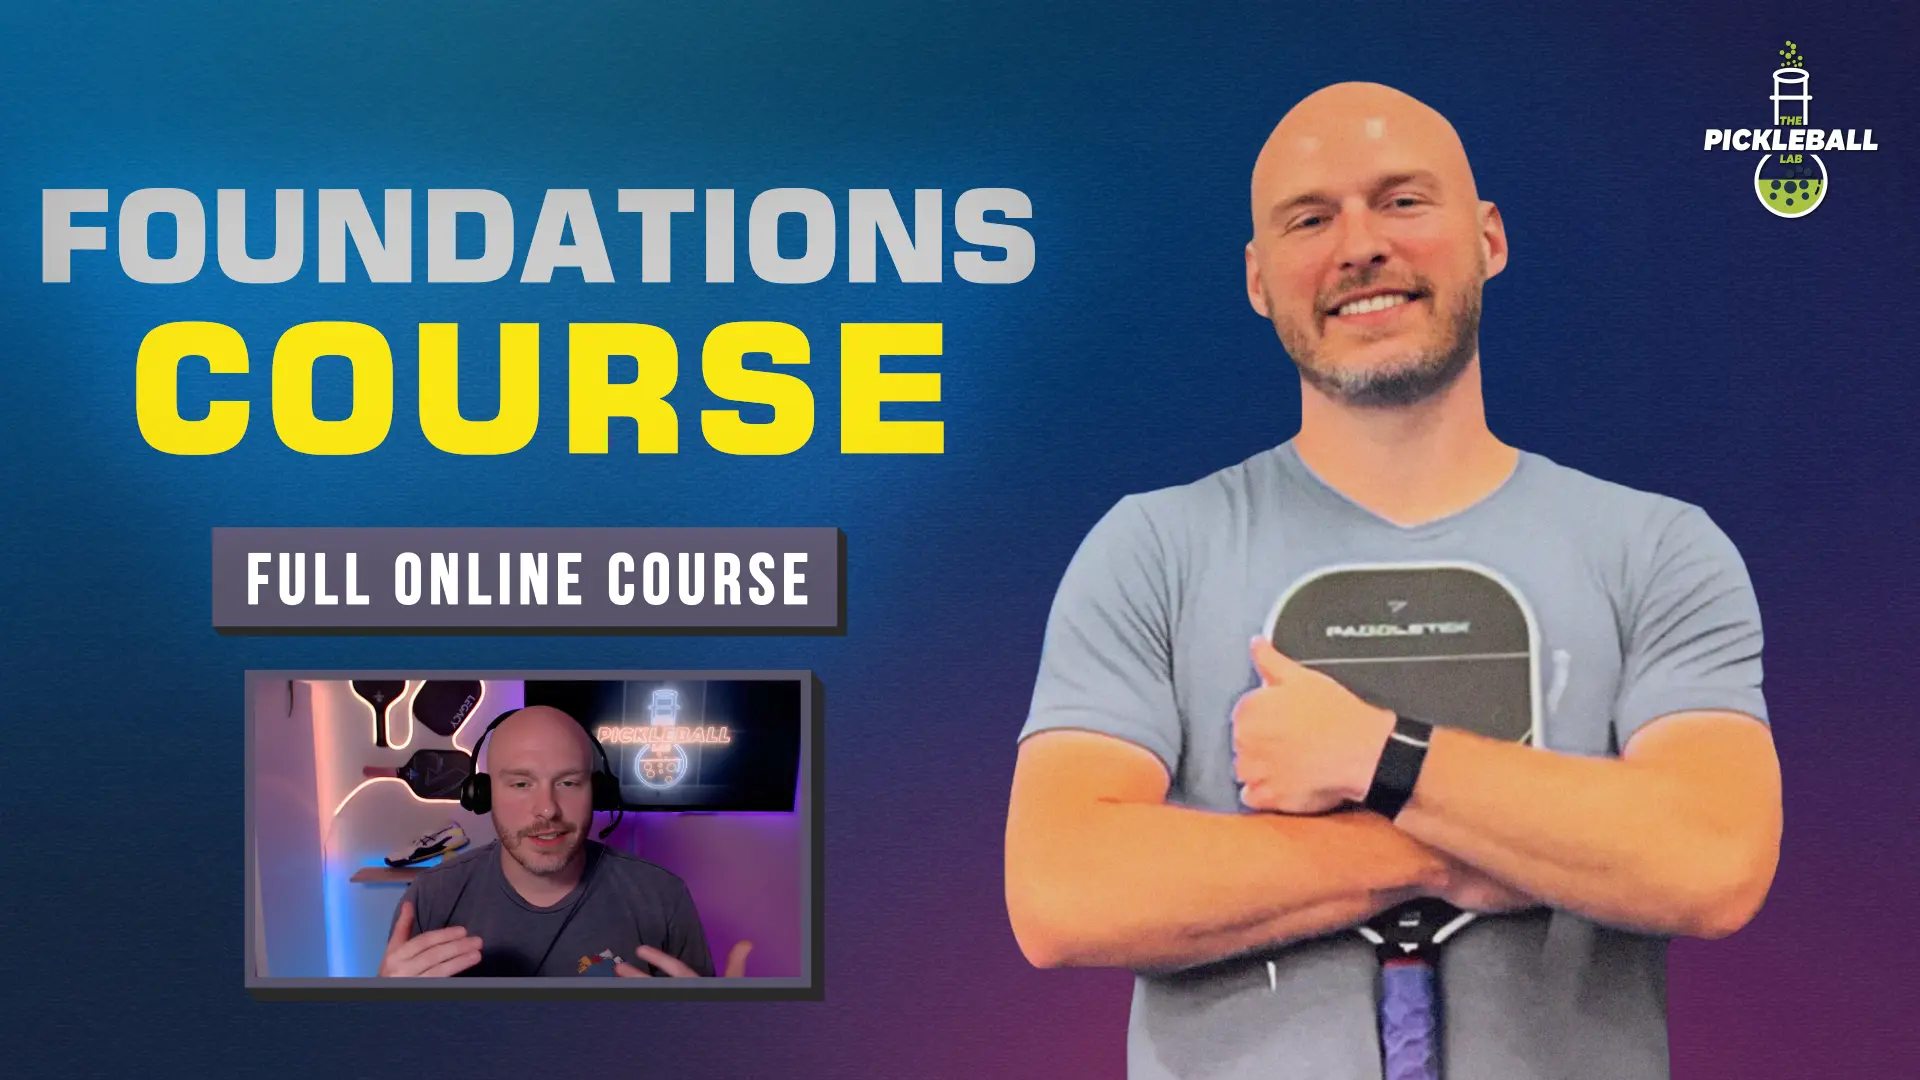
The Foundations Course is the essential starting point for every player in The Lab, regardless of their current rating. While it can be tempting to overlook it, this course contains the core principles that underpin everything else you will learn. By establishing a correct foundation early on, you ensure that your future progress is built on a true understanding of the game’s essence. Without these core concepts—such as The Four Phases of Pickleball, the “High Ball/Low Ball” rule, and more—players often find themselves knowing what to do but not why they are doing it. This gap in understanding inhibits your progress and even leaves you susceptible on the court not being able to adjust when needed in both practice and in games.
In addition to these universal principles, the course provides a framework for how to approach your own development. We cover a wide range of essential topics, including the science of how to actually learn so you can get better faster, how to manage the mental side of the game, and more. This ensures that the material in your level-specific courses sticks and that you have the reliable foundation needed to excel and progress at an accelerated rate.
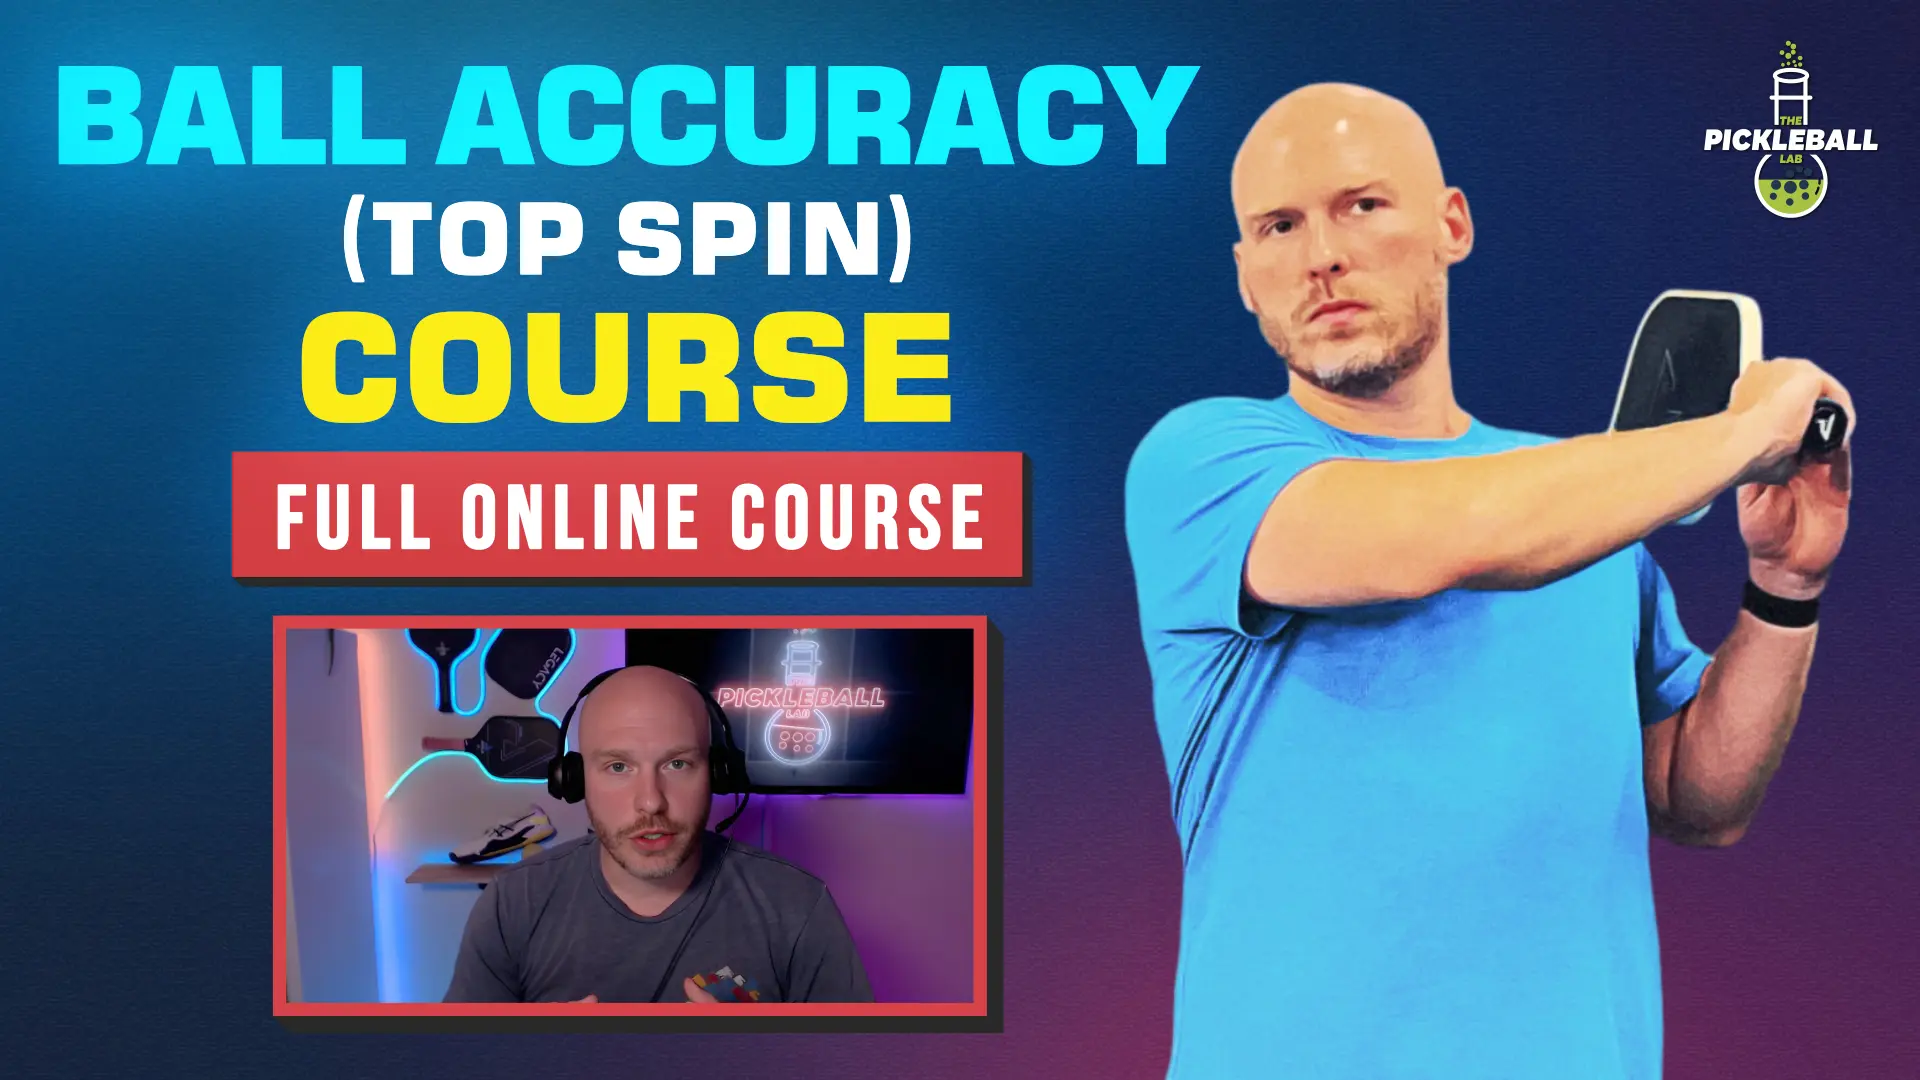
The Top Spin Course is a requirement for any player serious about advancing in pickleball, no matter their level. While many see topspin as something they could never do, it is actually the ultimate tool for ball accuracy and consistency. At lower levels, not using topspin makes the game much harder than it needs to be—you could be winning more games, more easily. At higher levels, it becomes unavoidable; without it, you eventually hit a wall where you simply cannot match the pace or tactics of better players.
What feels like a “mountain” for most players is usually just a lack of clarity. Topspin isn’t out of reach—you can do this. We break this skill down in a way that helps you actually understand what’s happening, so you can take control of it and truly adopt it instead of guessing and hoping it works. This gives you a reliable, high-performance stroke that provides true control over where the ball goes. Not only that but it also allows you to hit the ball harder while keeping it safely in the court, and even gain the ability to dip the ball at your opponent’s feet, forcing them into difficult low-ball situations they can’t easily attack.
Topspin isn’t just a requirement in pickleball; it is a fundamental game-changer that we’ve made more accessible and understandable than ever before, from beginners to advanced level players.
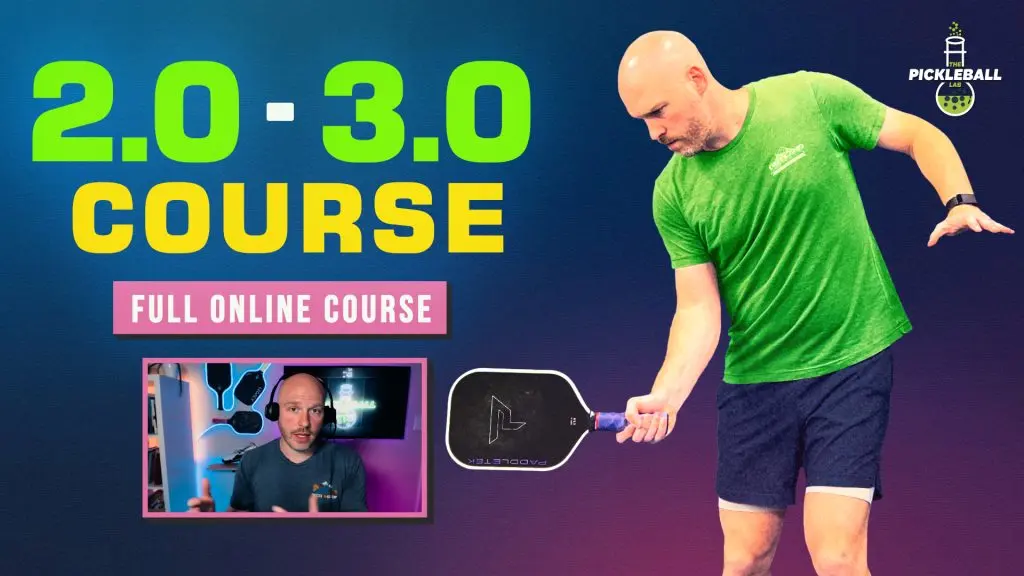
The 2.0–3.0 Course is the definitive roadmap for both brand-new players and those who have felt stuck in the basics for years. While many programs offer surface-level tips, this course provides a high level of knowledge delivered through a clear, step-by-step path. We introduce core concepts early through video lessons and then show you exactly how to apply them through our integrated drill and checkpoint system. By following this specific order, you eliminate the confusion of trying to piece your game together from random sources and instead follow a professional progression designed to get you to the next level as quickly and efficiently as possible.
What sets this course apart is the depth of content and the simplicity of the workflow. We have packed this curriculum with enough high-level insights, drills, and checkpoints to realistically carry a player all the way to a 3.5 level, ensuring we over-deliver on the value you need to succeed. The process is simple: watch a lesson, complete the corresponding drill, hit your checkpoints, and move to the next lesson to repeat the cycle. This structured approach ensures that you aren’t just watching videos, but actually building the skills required to outplay the competition. Whether you are just starting out or trying to break a long-term plateau, this course provides a level of clarity and structured coaching that is simply unavailable anywhere else.
Your subscription is an All-Access Pass to our entire growing course library. We don’t believe in charging extra for “Masterclasses” or upselling you on new levels; as long as you are a member, every new online course we release is included at no additional cost. This ensures that as your game evolves from a 3.0 to a 5.0 and beyond, you never have to worry about hidden fees or restricted content. You pay one simple subscription and get full access to every current and future course we build, allowing you to focus entirely on your progression without the distraction of constant upsells.
Because we are building our higher-level curriculum in real-time as our community graduates, you also receive Early Access to new courses as they are developed. By putting in the work and graduating through your current level, you ensure that the next stage of your training is ready exactly when you are. You can trust that your membership is a long-term commitment to your success that increases in value as we continue to expand our library. As you grow as a player, The Lab grows with you, providing the professional coaching you need for every stage of your journey.
The Progressive Path is the framework we use to ensure you move through the levels as quickly and efficiently as possible. By combining a clear roadmap with a high-retention training system, we remove the guesswork and focus entirely on your progression. This path is built on three core pillars:
The Structured Path
Our online courses are organized into clear, level-specific paths (e.g., 2.0 to 3.0, 3.0 to 3.5) to ensure you are only working on the skills required for your current level. This structure eliminates the frustration and discouragement of trying to progress without a clear plan. By focusing on exactly what you need right now, you move toward the next level as quickly as possible, following a professional roadmap that keeps you on the most efficient track.
The Strategic Path
To keep your progress moving forward, we utilize a strategic approach that identifies exactly what you should—and should not—be working on. We intentionally remove skills that aren’t necessary for your current level to keep your training lean and effective. For example, while there are many dinking techniques a 2.0–3.0 player could practice, they are rarely used at that level. Instead of wasting time on skills you won’t use, we redirect that energy toward the high-leverage areas that actually move the needle and get you to the next level faster.
The Mastery Cycle
We ensure you actually retain what you learn through our “Lesson → Drill → Checkpoint” workflow. This sequence is designed to help you absorb knowledge at a high rate and build the muscle and brain memory required to reach the next level. Most players’ games break down during a match because their changes haven’t been reinforced; our checkpoints ensure that your progress is both verified and consistent. This combination of a curated curriculum and a rapid retention system allows our students to achieve results in weeks that might take others years to reach.
Our Lessons are built around high-level coaching and the professional ability of those same coaches to teach the game in a way that players can actually apply. It’s not just about knowing the game—it’s about breaking it down clearly so you know exactly what to do and why you’re doing it. We focus on delivering the right information at the right time based on your specific level, ensuring you build your game step-by-step without confusion or wasted effort. The video format supports this by allowing us to slow things down, pause key moments, and highlight important details so you can fully absorb the mechanics and strategy before moving to the court.
Each lesson follows our Progressive Path, meaning you are only learning what you need for your current level in the specific order you need it. We break concepts down completely so you can fully understand them, then reinforce that learning through the next steps in the system (Video Lesson → Drill → Checkpoint). This structured approach ensures that you aren’t just watching content, but actually making real, measurable changes in your game.
Our Drills solve one of the most common problems in pickleball coaching: you learn a concept, but you have no idea how to actually practice it. Every lesson that requires real execution comes with a corresponding drill video that answers exactly that question. We show you the specific type of practice to do, how to set it up, and the common mistakes to avoid so you don’t spend time reinforcing bad habits. Many drills are designed to be completed solo so you can get to work immediately. When a drill requires a partner, it is because the skill demands it, typically for strategy-based work that can only be developed in a live exchange.
Following our Progressive Path, you will never be taught a skill that requires execution without being given the exact drill to practice it. This ensures that every concept you learn has a clear, actionable path from the lesson to the court. Once you have your drill, the Checkpoint system breaks the required repetitions into manageable sections so you can track your progress, check off each milestone, and watch your progress bar grow. You never have to figure out what to practice, how to practice it, or how much to practice—we do all of that for you.
Checkpoints are what turn practice into real improvement. Most players practice without a clear goal, which leads to either not doing enough to create change or spending too much time on the wrong things. We solve this by giving you a specific number of reps for each drill—sometimes 500, sometimes 1,000 or more—based on what it actually takes to develop that skill. These numbers aren’t random; they’re designed to give you the volume needed to start building real feel and confidence in your execution and therefore, your on-court game.
As you build that repetition, you begin the shift from thinking about the movement to feeling it. That’s where real progress happens. To make this manageable, we break each goal into smaller sections that you can check off as you go, with your level progress bar updating in real time. This gives you a clear end point, steady momentum, and the confidence that you’ve done enough to create meaningful change—so you don’t get stuck in the cycle of knowing what to do, but not being able to do it in a game.
Every step of our curriculum—including Lessons, Drills, and Checkpoints—features a dedicated Q&A section to ensure you never feel stuck or confused. While our system is designed to be comprehensive, we know that specific questions can arise as you begin to apply the material. This provides a direct line to our high-level coaches, who monitor every section and respond to every question. Whether you need a deeper explanation of a strategic principle or a clarification on a specific drill setup, you can trust that you’ll receive expert insight to ensure you are interpreting the system correctly.
The Q&A also serves as a growing knowledge base for the entire community. Because all questions and coaching responses are public, you don’t just learn from your own inquiries—you benefit from the collective curiosity of every player at your level. If a particular concept requires more than a text response, we often provide video explanations to ensure total clarity for everyone. This interactive layer turns the curriculum into a living classroom, giving you the extra coaching and confidence needed to master the material and move forward with certainty.
Note: Course Q&A is strictly for clarifying the curriculum and general concepts. For personalized feedback on your specific game, video clip analysis, real-time troubleshooting, etc. from our coaches, please see our Accelerated Tier.
Every course update, refinement, and new lesson we add is included in your subscription at no additional cost. We believe in providing a true one-stop shop for your pickleball education—a single resource that gives you everything you need to go as far as you want in this game for one consistent price. As we find better ways to teach specific mechanics or strategies we improve lessons, move content between levels to keep it aligned with the right skill level, and add new content so you’re always learning what actually applies to where you are in your game.
This commitment to continuous improvement means your subscription continues to grow in value over time without you ever having to pay for extra course content. Whether we’re filling a gap identified by student questions, finding a clearer way to explain something, or adapting to how the game is evolving, these updates are integrated directly into your courses as they are developed to ensure your training never becomes outdated. You can trust that you’re always learning the most current and effective version of pickleball, backed by a coaching platform that is actively being refined to help you succeed at every level.
Each level has its own dedicated channel, monitored by a coach who is actively involved in the conversation. This isn’t passive or “post and hope”—every question gets a response within 24 hours on weekdays. Coaches don’t just reply when tagged—they’re in the channel proactively, correcting mistakes, adding insights, and calling out patterns they see so you stay on track as you work through your course.
This gives you continuous access to coaching as you progress, not just at set times. If something doesn’t make sense, you can ask and get clarity right away. And because everything is public within your level, you also benefit from the questions and feedback others are getting—giving you extra coaching and perspective without having to ask every question yourself.
Our video lessons give you the blueprint, but applying those concepts—whether in a game or while you’re practicing—is where things can break down. Video clip analysis gives you a true coach in your pocket to identify exactly what’s happening. By uploading a 30–45 second clip of your play or practice to your level-specific channel, a coach can see the reality of what you’re doing—whether it’s a mechanical issue, a strategic mistake, or something you didn’t even realize was happening.
Instead of guessing or trying to explain what you felt, your coach can pinpoint the issue and give you a clear, direct correction so you know exactly what to adjust. This gives you confidence that you’re applying the lessons correctly and actually moving in the right direction. You’ll also learn from the feedback given to others in your level, giving you even more coaching and perspective as you progress.
Weekly live coaching sessions are the fastest way to get direct, real-time coaching for your game. This is your dedicated window each week to get unfiltered access to your coach through a live stream—ask questions, get immediate answers, and work through concepts on the spot until you fully understand them. It’s a simple, reliable way to get coached up with no delay.
Because everything happens live, you can go deeper than a single question. Bring longer clips or even full matches for more complete breakdowns and real-time feedback. Sessions are first come, first served, so showing up early gives you more time—and if fewer people attend, you get even more direct coaching. Every session is also saved, so you can go back and rewatch past coaching anytime.
The Archive gives you instant access to the ever-growing history of coaching within your level. Instead of just seeing what’s happening today, you can look back through every chat question, video clip analysis, and weekly live coaching session ever posted in your level’s channel. It’s the ultimate supplemental resource for when you want to dive deeper into your training and see the customized instructions being given to other players in real-world situations.
The library is organized by coaching format, allowing you to easily filter the feed to find exactly what you’re looking for—whether it’s a specific technical question from a peer or a breakdown from a past weekly live coaching session. You’ll find answers to questions you didn’t even know to ask and discover the extra insights and adjustments that help players at your level succeed. It’s a constant source of additional coaching that ensures you’re always surrounded by the knowledge you need to keep progressing.
You’re not doing this alone. There is an entire group of players at your exact level working through the same material and progressing alongside you at the same time. The Lab is built around these level-based communities to ensure you are only interacting with players in your own bracket. This means you never have to deal with the confusion of higher-level conversations that don’t apply to you, or waste time on material that is below your current game. It’s a focused, supportive environment where everyone is moving toward the same goals.
Your community lives across every part of the platform—from the Premium Chat Channels and Lesson Q&As to the Weekly Live Coaching Sessions and Pods. Across all of these, there is a constant flow of interaction: questions, feedback, and coaching happening in real-time as players work through the material. You aren’t just learning from your own experience; you’re gaining insights from the questions being asked and the adjustments being made by others at your level, keeping you engaged and supported every step of the way.
Weekly Pods are one of the most effective ways to stay consistent and follow through on your training. If you choose to opt in, you’ll be placed in a small group of 4 players at your level who meet each week to check in on course progress. Each player sets their own pace—there’s no fixed timeline—so you’ll come in with your own goal based on the section of the course you’re on, the drill you’re working through, and how many checkpoints you plan to complete for the week.
Each session is centered around reviewing that goal—whether you hit it or not—what issues you ran into, and then setting your next goal. Beyond accountability, pods also give you space to talk through challenges, share what’s working or not working, stay motivated, network, and build relationships with other players at your level. One of the most effective ways to stay consistent is having a group you report progress to each week, and that’s exactly what pods are built to provide.
The Weekly Pod is optional.
Private 1-on-1 Coaching is for the player who isn’t okay with anything less than the fastest possible progress. Once a month, you’ll have a dedicated 60-minute session with your coach that is 100% focused on your specific game. This allows for a deep-dive progress audit where your coach can check in on exactly where you are in your course and adjust your path (lesson/drills/checkpoints) accordingly. You’ll discuss your play together live, identifying the specific nuances of your game that require personalized attention to ensure you are moving forward with total clarity.
While bringing film is optional, it is highly encouraged so your coach can perform a live audit of your mechanics and strategy. By looking at your play together, your coach can see exactly how you are applying the lessons from the course and provide the precise, customized corrections needed to fast-track your progress. This level of individual attention ensures that every minute you spend on the court is being used effectively and that you are mastering the concepts exactly as they were intended.
By the end of each session, your coach will check in on your progress within your course in the Lab and adjust your trajectory. You’ll be told exactly what to prioritize and what your coach wants to see completed between this session and the next. This might mean redoing a specific lesson to solidify a foundation, staying right where you are to master the lesson you’re currently on, or skipping ahead in your course because you’ve already progressed beyond your current course section.
Every session is recorded so you can go back and review your coaching at any time. There is no faster way to grow your game than having a coach personally audit your progress and fine-tune your path forward—and that is exactly what you get with Private 1-on-1 Coaching.
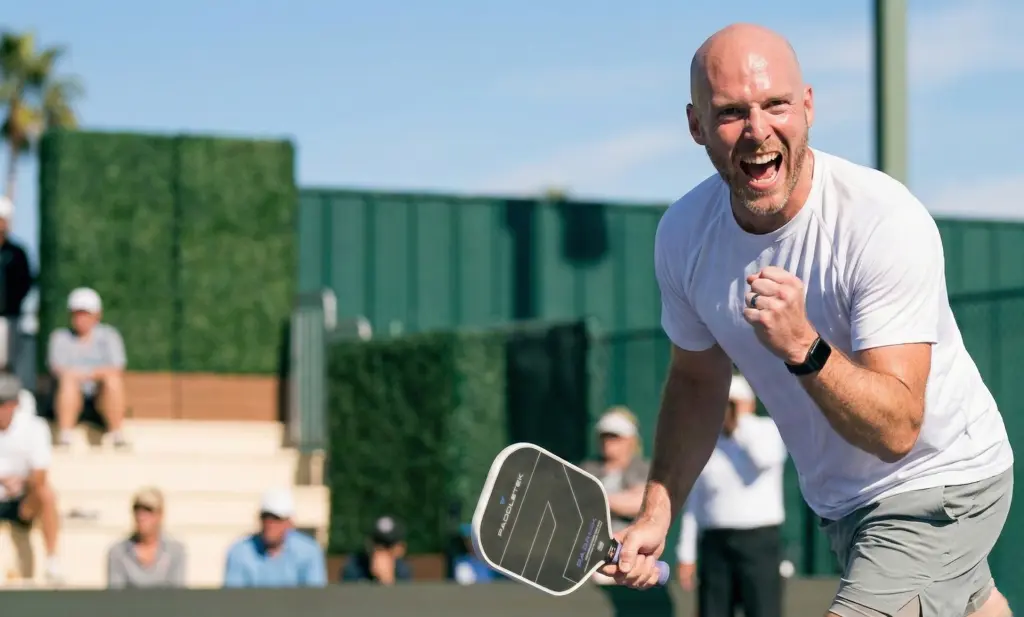
The Coaching System That Took Me from 3.5 to 5.0 in 1 Year
When I started playing pickleball, I did what everyone does: I watched endless YouTube videos, took local lessons, even taking a virtual lesson from a Top 40 PPA Pro. But it wasn’t working. YouTube gave me random tips with no context—in the same video you’d see a 5.0 tip and then a 3.0 tip, with no idea how to bridge the gap between them. Local coaches were even more frustrating; they lacked the knowledge, structure and follow-through I needed—there was no blueprint for what to work on next or follow up and feedback to see if I was progressing.
I was tired of guessing. I wanted to get better, and I wanted to do it fast.
So, I stopped looking for a path and started building one. I began filming every session and cataloging my errors to find exactly where my game was breaking down. I studied pro film to see how the best in the world solved those same problems. Then, I created specific, level-appropriate drills to laser-target my weaknesses and worked that plan relentlessly.
The result? I went from a 3.5 to a 5.0 in just 1 year.
I created The Lab to bridge the gap I fell into. I’ve taken my hard won elite-level knowledge and distilled it into a system that actually translates to your game. You get the Lessons to understand the ‘why,’ the Practice to build the ‘how,’ and the Coaching in someone who has been in your shoes and knows exactly how to course-correct your progress in real-time.
No more guessing. No more stunted growth. Just the high-level knowledge, structured practice, and expert coaching you need to reach your full potential.

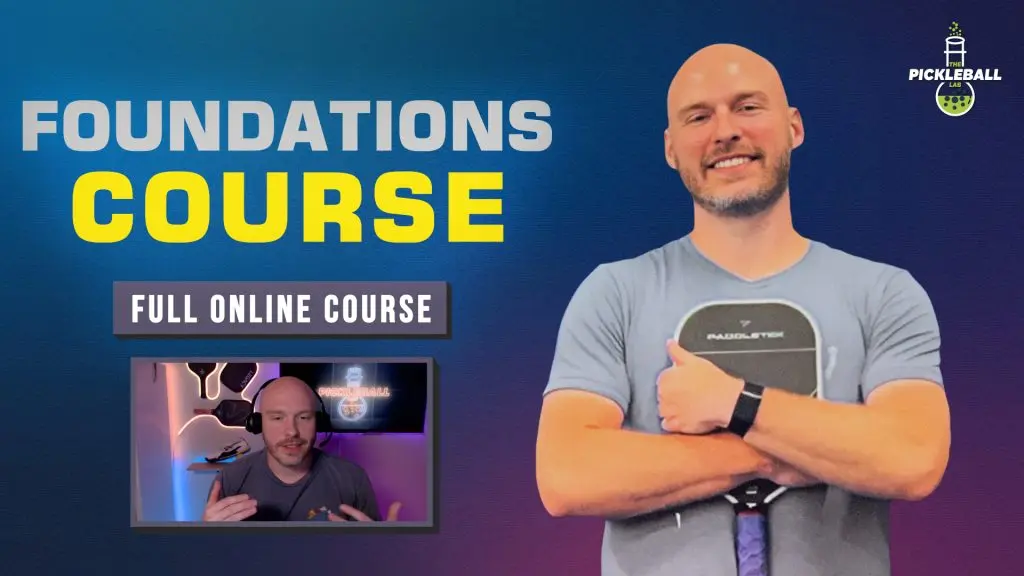
Every player starts here. Learn the level-less principles that shape every part of pickleball—from the 4 Phases of Pickleball to the High Ball / Low Ball Framework—so you can get more from every course you take next.
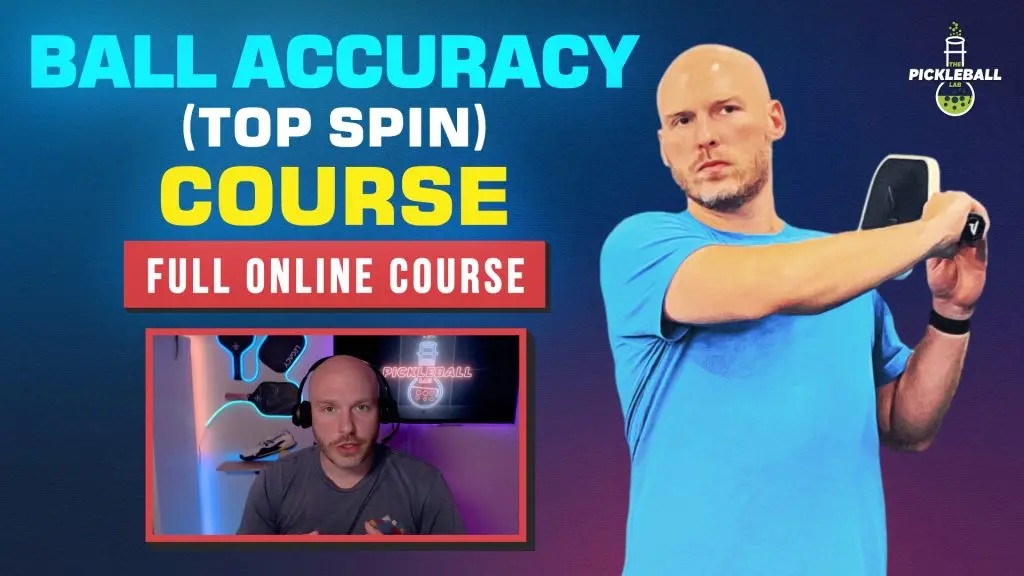
Learn to put the ball where you want it—on every shot. This core course teaches the repeatable mechanics (top spin) behind real ball accuracy, helping you control all shots to win more rallies & progress faster.
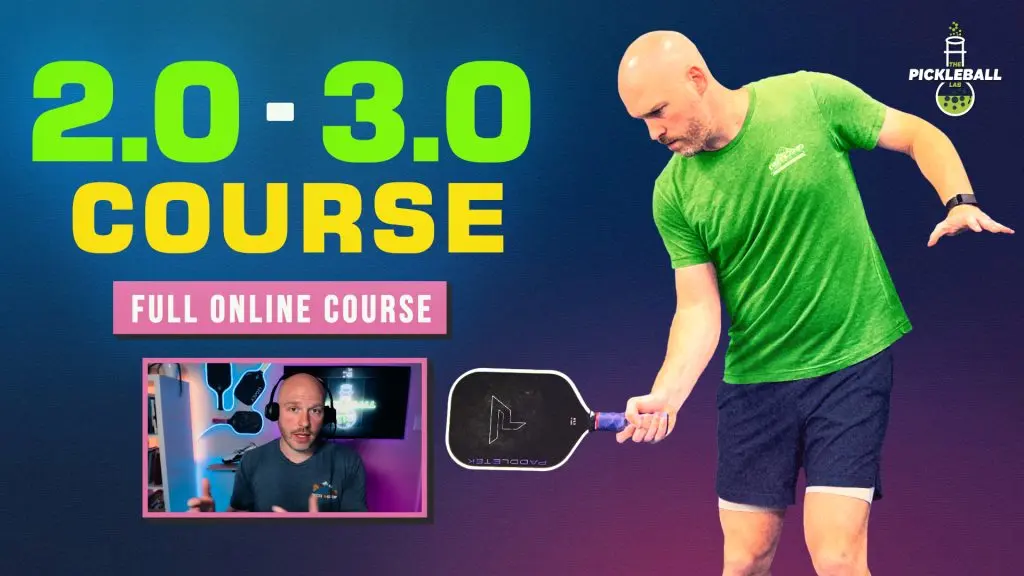
The definitive roadmap to 3.0+ play. This course fixes your mechanics, corrects your strategy, and fast-tracks your path to 3.0+ play—saving you years of “unlearning” bad habits.
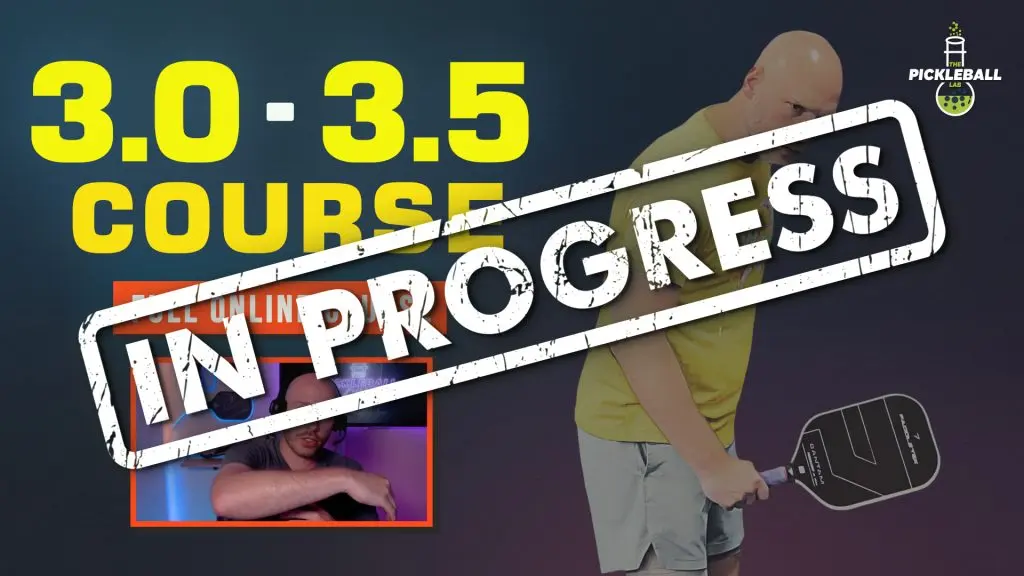
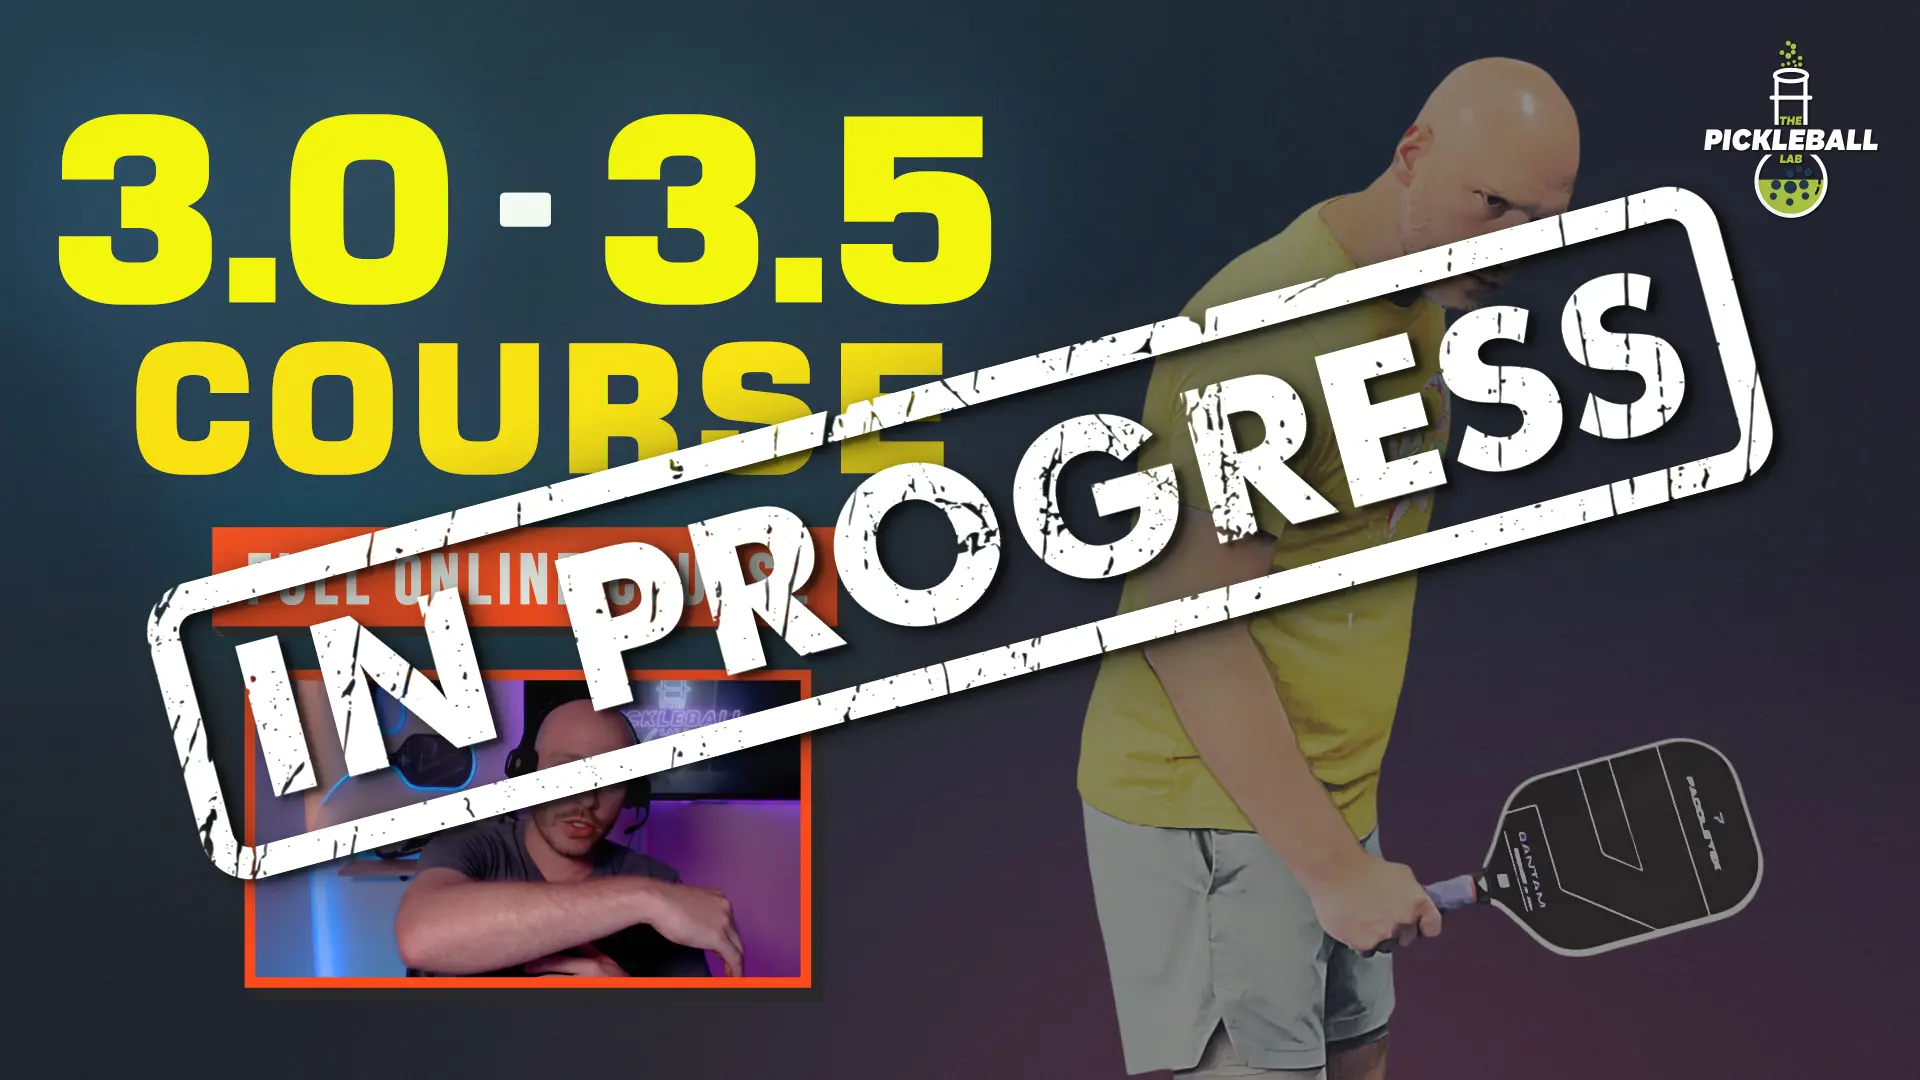
Your all-access pass to the elite game. We’re working on the definitive roadmaps for advanced play, from 3.5 to 5.5+. Your subscription unlocks every new course as it’s released—so your training grows with your game.
Below is the complete Foundations curriculum—every lesson you’ll complete before moving into level-specific training inside The Lab. Browse through it to see how we introduce the level-less principles that shape every part of your pickleball game.
Legend:
Below is the full Ball Accuracy / Top Spin course curriculum—every lesson, drill, and checkpoint laid out in the exact order you’ll follow inside The Lab. Browse through it to see how we help you develop more accurate shots, reliable top spin, and greater consistency on the court.
Below is the full 2.0–3.0 course curriculum—every lesson, drill, and checkpoint laid out in the exact order you’ll follow inside The Lab. Browse through it to see how we take you step‑by‑step from beginner fundamentals to confident, consistent 3.0+ pickleball.
Legend:
The 3.0–5.5+ courses are coming soon. We’re building the courses now and will let you know as soon as it’s ready inside The Lab.
You’re hooked on pickleball and want to learn the right foundation now so you don't have to fix bad habits for years.
You’ve been stuck at a level (3.0, 3.5, etc.) for months or even years and you’re tired of being "stuck".
You want to climb the ratings, enter tournaments, and know—with total certainty—that you're working on the right parts of your game.
You have limited time to play and you want to make every minute on the court count toward real improvement.
We’re so confident in The Lab that we’re taking all the risk. We want you to join us, explore the lessons, use the practice plans, and get a feel for the coaching.
If you don’t feel like it’s the right fit for your game, just let us know within your first 30 days and we’ll refund you 100%. No questions asked. No “hoops” to jump through. No hard feelings.
You have total control over your membership. If you ever decide to move on, you can cancel anytime with a single click. You’ll still have access to the free version, and if you come back later, your progress will be right where you left off.

Send us a message and we’ll get back to you. If you’re ready now, click ‘Enroll Now’ above.”
What if my level doesn’t have an online course yet?
You can still make real progress inside The Lab. Every paid member gets an initial assessment to help determine the best place to start.
Players through the 3.5 level can use Foundations, Ball Accuracy / Top Spin, and the 2.0–3.0 Course to build the core mechanics, strategy, and ball control needed to move forward. The Ball Accuracy / Top Spin Course progresses all the way to a 5.5-level swing, so it remains a valuable part of your training at every level. And the 2.0 – 3.0 Course has content in it that a typical 3.0 – 3.5 has never done and would only strengthen their game.
If you’re 3.5+ and need level-specific strategy, mechanics, and guidance while we build your online course, join the Elite plan. We’ll create a custom curriculum around your game.
Your coaching, film reviews, questions, and feedback also help us build the next course around the skills players at your level actually need. When your level-specific course is released, it is included in your membership.
That’s where you get even more value out of your subscription because you’ll be the one getting coached the whole time! You can use this as a way to get one on one coaching without having to pay for the higher tier!
Eventually, every level will have its own coach. For the moment, Coach Josh is the coach for every level. Any interaction with a coach mentioned on this page, will be with him.
Absolutely not. You can just take the courses and learn how to play the game. We have plenty of members that do just that. However, if you want us to be honest with you: to truly get better at a rapid rate, you will need to practice. It’s the #1 reason people don’t get better. It may just be that you come back later and practice when you’re ready.
The Coaching System That Took Me from 3.5 to 5.0 in 1 Year
When I started playing pickleball, I did what everyone does: I watched endless YouTube videos, took local lessons, even taking a virtual lesson from a Top 40 PPA Pro. But it wasn’t working. YouTube gave me random tips with no context—in the same video you’d see a 5.0 tip and then a 3.0 tip, with no idea how to bridge the gap between them. Local coaches were even more frustrating; they lacked the knowledge, structure and follow-through I needed—there was no blueprint for what to work on next or follow up and feedback to see if I was progressing.
I was tired of guessing. I wanted to get better, and I wanted to do it fast.
So, I stopped looking for a path and started building one. I began filming every session and cataloging my errors to find exactly where my game was breaking down. I studied pro film to see how the best in the world solved those same problems. Then, I created specific, level-appropriate drills to laser-target my weaknesses and worked that plan relentlessly.
The result? I went from a 3.5 to a 5.0 in just 1 year.
I created The Lab to bridge the gap I fell into. I’ve taken my hard won elite-level knowledge and distilled it into a system that actually translates to your game. You get the Lessons to understand the ‘why,’ the Practice to build the ‘how,’ and the Coaching in someone who has been in your shoes and knows exactly how to course-correct your progress in real-time.
No more guessing. No more stunted growth. Just the high-level knowledge, structured practice, and expert coaching you need to reach your full potential.